
It is very easy to use the Joomla reCAPTCHA plugin in your custom Joomla component or module, just you have to follow the below mentioned steps.
Step 1 – You have to get the reCAPTCHA keys
This is the first step and in order to avail reCAPTCHA keys, you first have to login to your google account and go to, https://www.google.com/recaptcha/admin/create. Here you will experience the following screen.
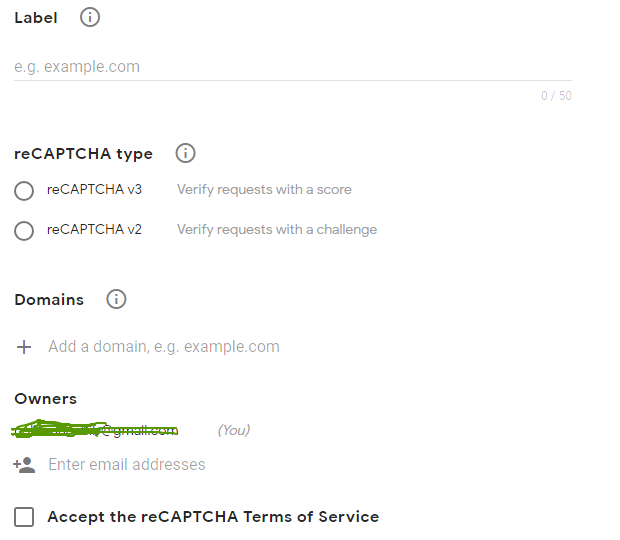
As indicated in the above screenshot, you first have to provide a title or label for your reCAPTCHA so that this particular account can be identified uniquely. Then the reCAPTCHA type should be selected. V2 is the normal version, used on most sites, which just gives the user a challenge to solve and it is just a one-time verification.
On the other hand, V3 is a bit complex because it provides a high level of spam detection without grabbing user attention. It could be added to any potential page where spamming could be done, like registration, checkout page, ask a question etc. It provides security when you have spam or risky traffic and then, on the basis of that, you may ask for email verification for that sort of traffic or send the posts or comments they have made, for moderation.
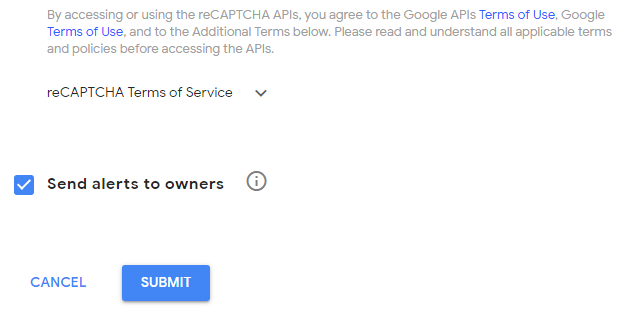
You have to choose the right version which suits you better and then have to mention the URL of the site where you want to display the recaptcha. The domain must have an SSL certificate and can be loaded through https. After that, provide the owner’s email IDs and then press submit by accepting the terms and conditions.
You will then come across the following screen

This is what you need to display recaptcha on your Joomla site. Copy the site key and secret key from here and then login to your Joomla backend and go to Plugins reCaptcha and put the site and secret key in the respective fields and Enable/Save the plugin.

You are half done till here.
Step 2 – Adding code to your extension to display reCaptcha
Here the actual integration process starts. The code comprises of two parts, first is for recaptcha display and other is for verification.
JPluginHelper::importPlugin('captcha');
$dispatcher = JDispatcher::getInstance();
$dispatcher->trigger('onInit','customreCap');
Put the above mentioned code where you want to display the captcha, inside the form and in the div with id, “customreCap”. The parameter provided to the dispatcher trigger event and the div where the recaptcha will be displayed must be the same, otherwise the code will not work. Remember that JHtml::_(‘behavior.keepalive’); code should be there at the start of the component / module template file.
Then you have to verify this and for that purpose, use the following code in your controller where form will be submitted.
$data = JFactory::getApplication()->input->post;
$dispatcher = JEventDispatcher::getInstance();
JPluginHelper::importPlugin(‘captcha’);
$res = $dispatcher->trigger(‘onCheckAnswer’,$data[customreCap]);
if(!$res[0]){
die(‘Invalid Captcha’);
}
And thats it. The reCaptcha should be running and get validated fine in your extension.
For furthur learning about cutom joomla development, please go through my state of the art Joomla 3 custom extension development course.
May God bless you and your family.

